
TeamCity is a continuous integration (CI) server developed by Jetbrains. I have worked with CruiseControl and Hudson/Jenkins and, to my point-of-view, TeamCity is beyond comparison. I will not detail all the features that made me love this product, let me sum up by saying that TeamCity is both a powerful and easy to use software. It is so easy to use that you can let non tech guys visit the web app, trigger their own builds, collect artifacts etc.
TeamCity 9.1 has been developed with the Tomcat/JEE tech stack. However, it works on windows and, in this post, I will explain how to setup a proper installation on Windows VM hosted on Azure using Azure SQL. Precisely, I will detail the following points
- Installing TeamCity 9.1 on a Windows Server 2012 Virtual Marchine hosted on Azure with and SQL Azure database.
- Serving your TeamCity web app securely through https. To this aim, we will setup a reverse proxy on IIS (Internet Information Services). I will also detail how to make the websockets, used by the TeamCity GUI, work with IIS 8.0.
This first post is dedicated only to the first point. The second one will be the topic of the next post.
Installing Teamcity 9.0 on Azure VM
creating the VM
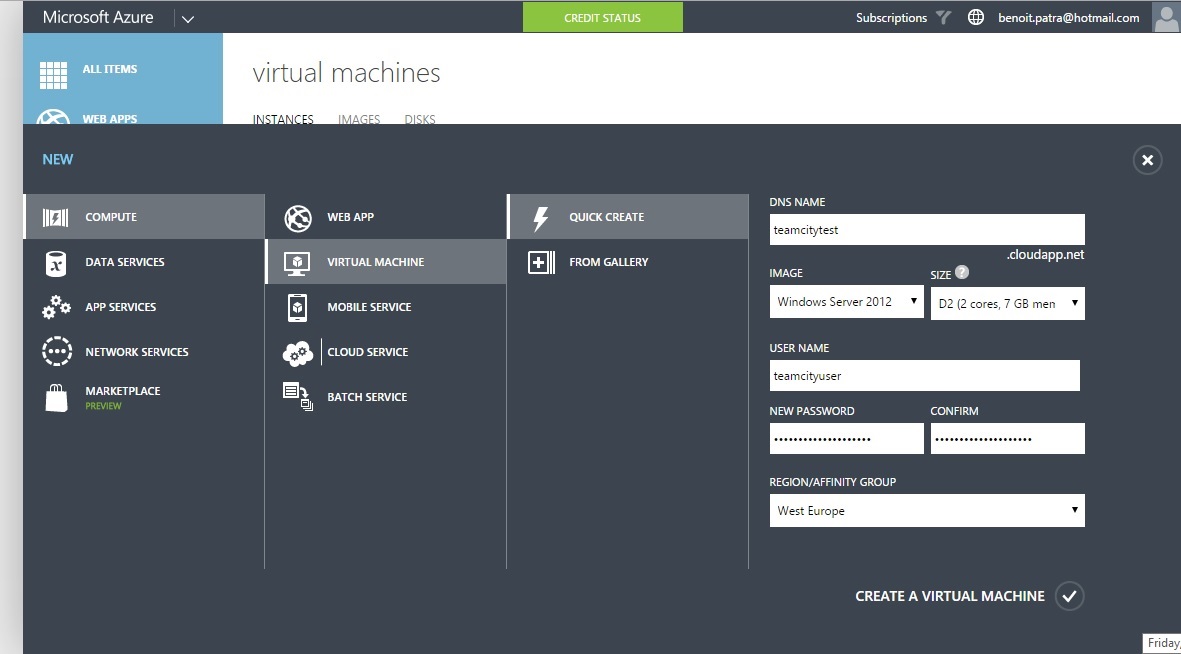
First of all, start by creating the VM. I recommend you to use manage.windowsazure.com. I personally think that portal.azure.com is not very clear for creating resources at the time of the writing. You can use the ‘Quick create’ feature. There is nothing particular, no special tricks here. Azure will create a virtual machine with Windows Server 2012. Note that I recommend you to provide a instance with more resources while you are configuring. Indeed, we are going to use the Remote Desktop for configuring the TeamCity web app and the IIS server. Remind that, when you allocate more resource (D1 or D3 for example), the Remote Desktop will be more responsive, you’ll save a lot of time. Of course you could downgrade later to minimize hosting costs.
creating the Azure SQL Database and server
Then you will have to create an Azure SQL Server with an SQL database. This times, on windows.azure.com, go to Sql database and click ‘Custom create’. For the SQL Server, choose ‘new sql server’. You can select the minimal configuration: a Basic Tier with maximum size of 2GB. Important: choose Enable V12 for your SQL server. Non-v12 server are not supported by TeamCity. At the time of the writing, it seems impossible to upgrade a database server to v12 after it is created, so do not forget and create a v12 instance. You will be asked to provide credentials for the administrator of the database. Keep your password, you will need it later when configuring the database settings in TeamCity.
TeamCity installation
When it is done, connect your Azure VM using Remote Desktop. Now we are going to install TeamCity on the Azure VM. Precisely, we will install it to run under the admin account that we created when creating the VM. I strongly recommend to run TeamCity with admin privileges unless you may encounter many problematic errors.
On remote desktop VM, start Internet Explorer and visit the Jetbrains TeamCity website: https://www.jetbrains.com/teamcity. You may have to put this site as a trusted source in order to visit from IE, this is also the same for downloading the file. To change internet security settings click the gear at the right top corner of IE and then InternetOptions security etc.
Once downloaded, start the installer. You may install it almost anywhere on the VM disk, the default, C:\TeamCity, is fine.
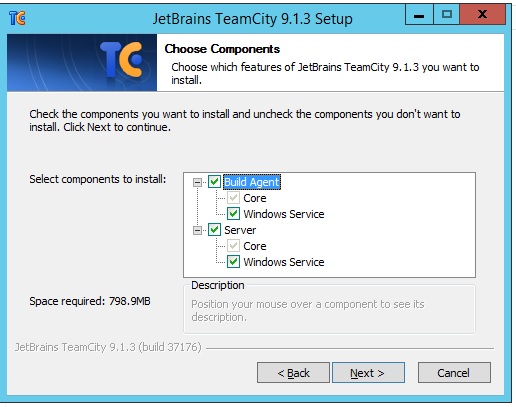
On the next installation screen, you will be asked ‘which component to install?’. You have to install both components Build agent and Server to have a working configuration. Indeed, in this post we will performed a basic TeamCity installation where the build agent and the continuous integration server are installed on the same machine. However keep in mind that TeamCity is a great product that enables you to distribute on several machine many build agents. They will be in charged of executing heavy builds simultaneously.
Later, you’ll be asked for the port, set it to 8080 (for example) instead of the default 80. Indeed, we do not want our TeamCity integration website being served without SSL, but serving the website through https/443 will be the topic of the next post… Finally, choose to Run TeamCity under a user account (the administrator of the vm, no need to create a new user).
After that, TeamCity server starts and an Internet Explorer window on localhost:8080 will be opened. I will ask you the DataDirectory location on the TeamCity server machine (choose the default).
Database configuration
Now comes the tricky thing, configuring the database. As explained in many places by Jetbrains do not keep the internal database for your installation. To use an Azure SQL Database, choose MSSQL Server.
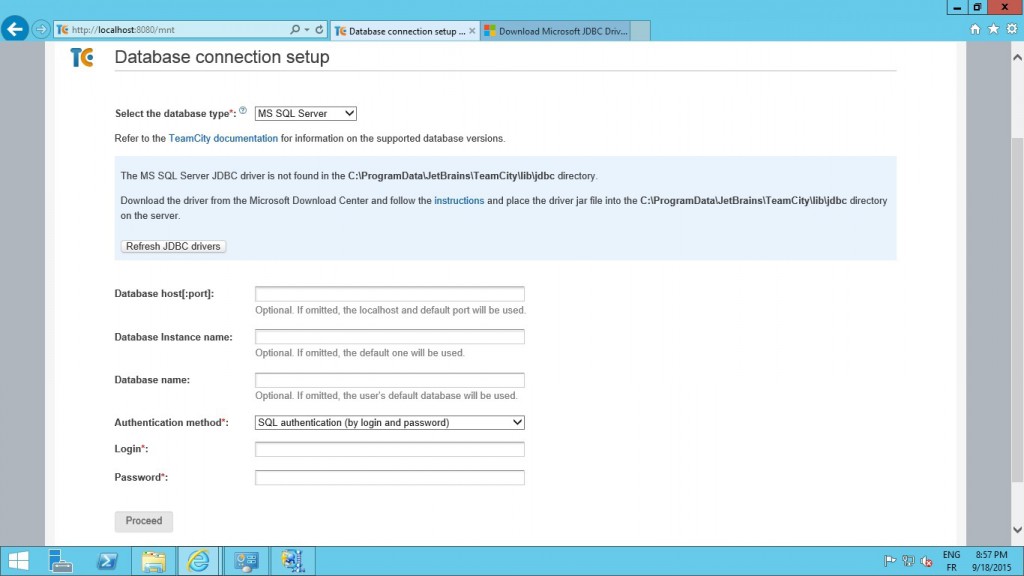
You will have to install je jdbc 4.0 driver that is needed by TeamCity to work with an SQL Server database. It is a very easy task that consist of putting a jar file ( sqljdbc4.jar) under the DataDirectory. It is well documented in the Jetbrains link. Consequently, I will just add that the default DataDirectory is an hidden folder located by default at C:ProgramDataJetBrainsTeamCitylibjdbc.
Now we have to fill the form for database settings. We will need the connection string that is available on the azure portal. If you select the ado.net representation, it should look like Server=tcp:siul9kyl03.database.windows.net,1433;Database=teamcitydb;User ID=teamcitydbuser@siul9kyl03;Password={your_password_here};Trusted_Connection=False;Encrypt=True;Connection Timeout=30;
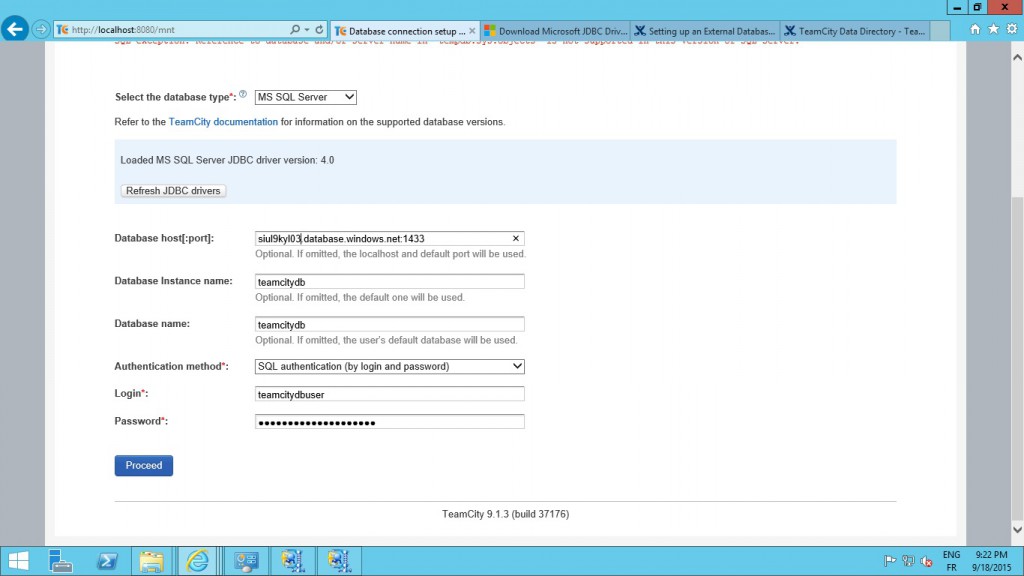
If you use a connection string formatted as above. When filling the form in TeamCity, you will enter the following entries (see screensho).
Remark that you may be rejected because your SQL database server does not allow Windows Azure (then this current VM) to access it. You have to manually grant it, in Azure management portal, on the Configure menu of the SQL SERVER. Click ‘yes’ for allowed Windows Azure services.
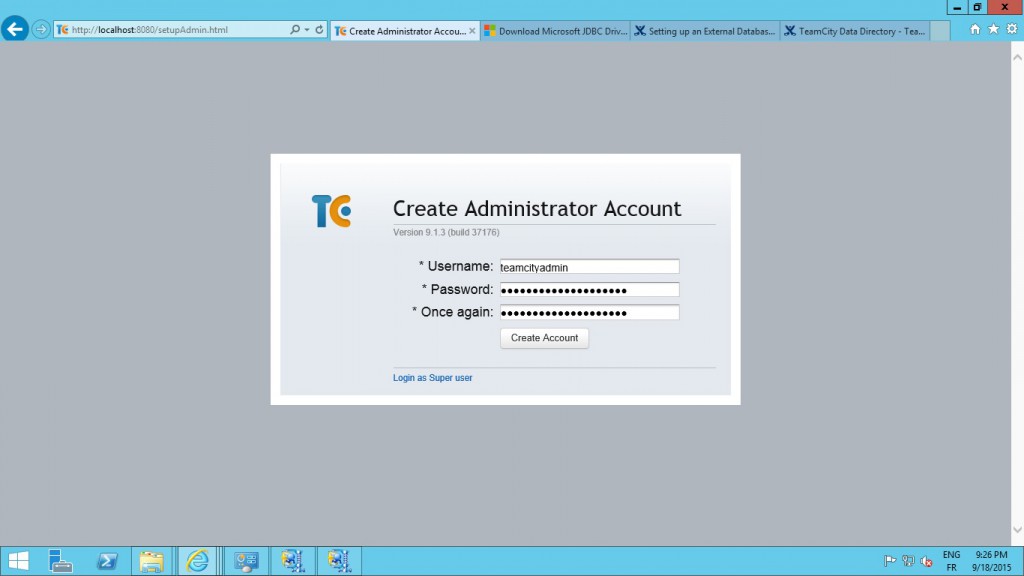
Then you will meet a last step, that ask you to create an admin user for your TeamCity web application.
Now, the first step of our installation tutorial is completed and we have a TeamCity server setup on our Azure VM. Visiting your TeamCity website on teamcityserver.cloudapp.net or even teamcityserver.cloudapp.net:8080 is not possible. Indeed, we setup the server on port 8080. This endpoint is blocked by your Windows Azure VM. In the next part, we will see how to serve properly and securely our integration web app through 443 port.
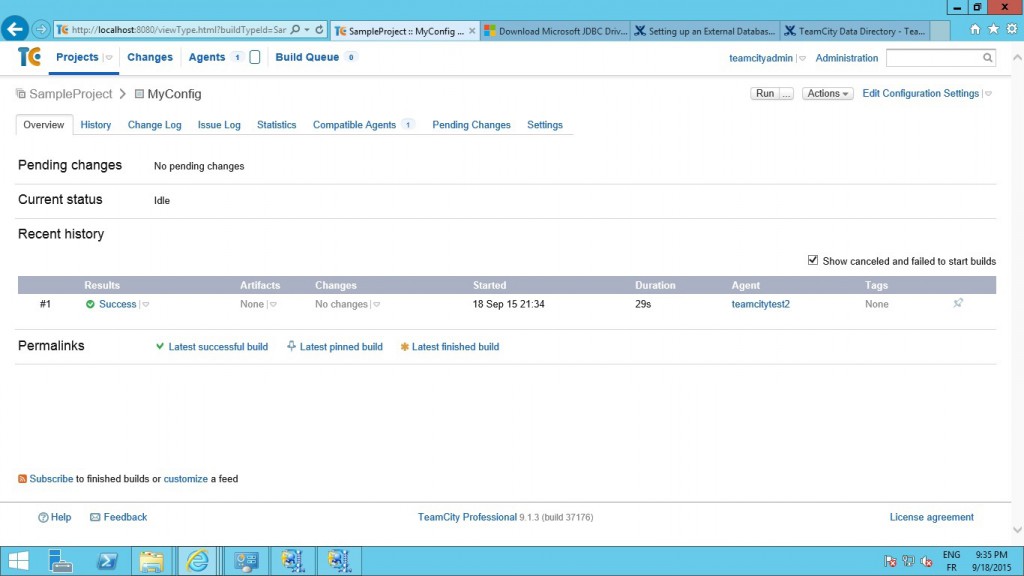
Before going to the second part. I suggest that you check your TeamCity works well locally on the VM by creating a very simple project. In our case, we create a build configuration that just checkouts source from a public github repository and perform a Powershell task that says “hello world”. When triggering the build manually (run button), the build is well executed. This means that the setup of the TeamCity server is completed. Configuring its web access will be the rest of our job.
PS: do not forget to downgrade the resources associated with your VM instance when you are done with configuration. There is no need to pay for a large VM if you do not need such performance.
Comments